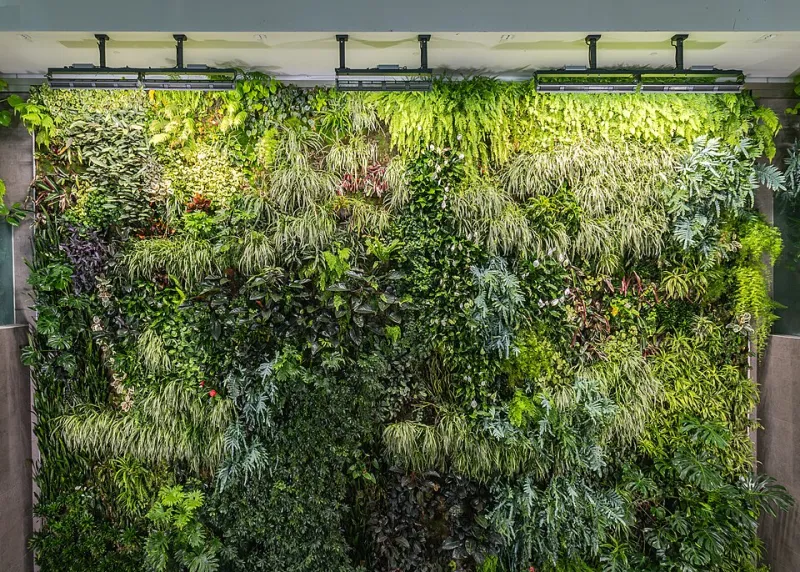
The Living Wall Diet: What Your Foliage Is Trying to Tell You (and How to Fix It Before Spring)
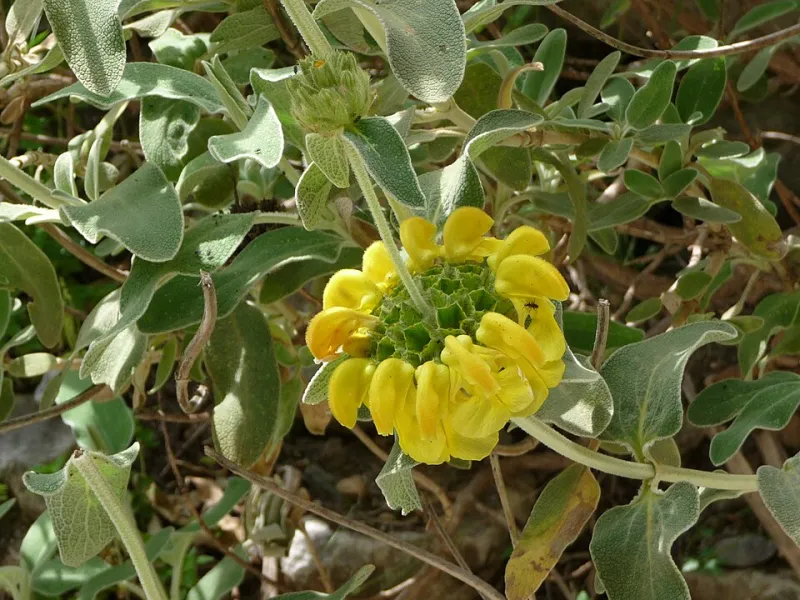
Photo: JopkeB, CC BY-SA 4.0, via Wikimedia Commons
Your Wall Is Talking. Are You Listening?
By late February, most living walls in Albany have been through the wringer. Short days, radiator-dry air, and a sun angle that barely clears the rooflines across Pine Hills and Delaware Avenue. Your wall made it through — but it's got opinions about how it went.
Plants can't talk, but they're constantly communicating. The trick is learning to read the signals before small complaints become full-blown die-off. Think of this as a decoder ring for your green wall's body language, something you can bookmark and re-run every February as a seasonal check-in.
Yellow Leaves: The Classic Cry for Help
Yellowing (what horticulturists call chlorosis) is the most common message, but the pattern matters more than the color itself:
- Uniform yellowing across older, lower leaves usually means a nitrogen shortfall. Your wall has been quietly using up its nutrient supply all winter, and the plant is now cannibalizing old foliage to feed new growth.
- Yellow edges with crispy tips point to dry air or salt buildup — very common when a wall sits near a forced-air vent or a sunny south-facing window in a Capital Region winter.
- Yellow leaves that feel mushy at the base scream overwatering. In February, most indoor walls need dramatically less water than they did in July. If your irrigation timer hasn't changed since summer, that's your culprit.
- Pale yellow new growth often signals insufficient light — the plant is stretching and fading because it can't photosynthesize enough.
Patchy Spots: Reading the Gaps
A bald spot on a living wall is rarely random. It's a map.
The most common pattern we see on Albany installs: the patch forms on the section of wall farthest from the window or light fixture. Plants that were thriving in October are now in effective darkness after the sun drops lower in the sky. The fix might be as simple as rotating a grow light, adding a supplemental LED panel, or — in stubborn corners — swapping in a lower-light species like pothos or cast iron plant.
If the patch is concentrated near the top of the wall, suspect irrigation drift: water running down and never reaching the upper pockets' roots. If it's at the bottom, you may have water pooling and rotting roots in the lower modules.
Drooping Fronds: Drama or Emergency?
Droop is where plant body language gets nuanced, because the same posture can mean opposite things:
- Droopy and dry-to-the-touch soil? Thirst. Give a thorough soak and it should perk up within hours.
- Droopy and damp soil? Root trouble. The roots can't uptake water even though it's there — usually from rot or compaction. Ease off watering and improve airflow around the wall.
- Droopy only in the morning, fine by noon? Often a temperature swing, like a wall near a drafty window or an exterior door that gets opened during those single-digit Albany mornings.
The Late-Winter Troubleshooting Checklist
Run through this before the equinox, roughly mid-March, so your wall has runway to recover:
- Probe every zone. Stick a finger (or a moisture meter) into pockets at the top, middle, and bottom. Uniformity is the goal.
- Flush the salts. If you've fertilized since fall, run plain water through the system once to clear mineral buildup.
- Dust the leaves. Winter-closed windows mean dusty foliage, and dust blocks the limited light you've got. A gentle wipe makes a real difference.
- Check the light math. Compare where your wall gets light now versus in October. Adjust grow lights closer or longer.
- Prune with purpose. Trim leggy or dead growth back to a node — it signals the plant to bush out rather than stretch.
- Hold the fertilizer until days lengthen. Feeding a light-starved plant in February does more harm than good. Wait until you see genuine new growth, usually late March or April locally.
The Spring Payoff
Do this diagnostic now and your wall won't just survive — it'll hit the longer days of April already positioned to flush out dense, healthy growth. Most of the sad-looking walls we get called in to rescue in May were sending clear signals back in February.
Learn the language, and your wall will tell you everything you need to know.