Lath, Plaster, and Patience: Hanging a Green Wall in an Albany Victorian Without a Single Crack
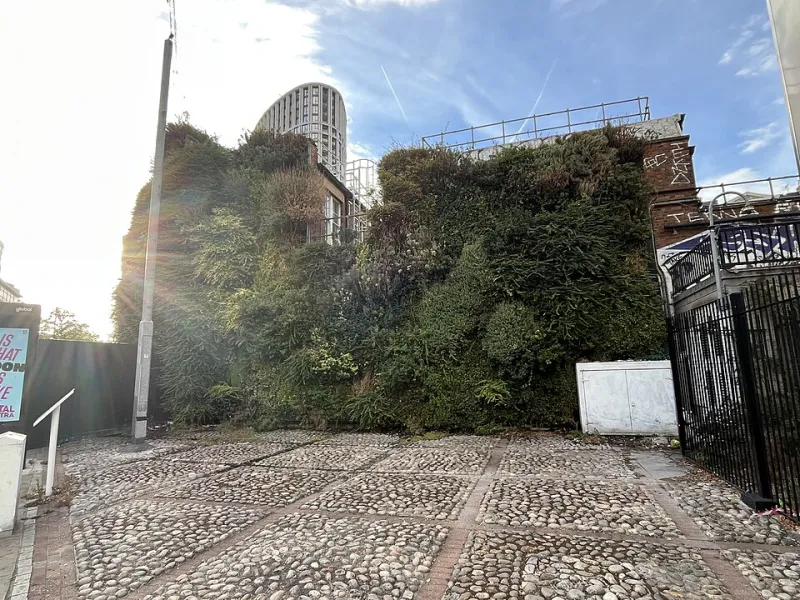
Photo: Sjenghai, CC BY-SA 4.0, via Wikimedia Commons
Walk into a pre-1900 house in Pine Hills, Center Square, or the Ten Broeck Triangle and lay a flat palm against the wall. That slight give, that cool even surface — that is plaster over wood lath, and it has been holding the room together since before your great-grandparents were born.
It is also the reason a lot of living wall plans die at the sketch stage. Drywall forgives a bad anchor. Plaster does not. Drill in the wrong place and you get a hairline crack that travels three feet by spring. Hang too much weight and you get a palm-sized chunk on the floor and a plasterer's estimate that makes you sit down.
We have mounted green walls in a fair number of old Albany houses now. The good news: it can be done cleanly. The catch: it requires a different order of operations than the one most installers default to.
Start With a Keyhole, Not a Drill
Before you order anything, figure out what is actually behind the paint. Three cheap tests, in order.
The magnet test. A rare-earth magnet will grab nail heads buried under paint and skim coat. Sweep it in slow arcs and mark what it finds. In an 1890s wall you will often pick up studs at 16 inches plus a second dense line of lath nails at odd spacing. Both matter.
The keyhole test. Behind an outlet cover or switch plate you can look at the wall's guts without leaving a mark. Lath strips run horizontally with gaps around 3/8 inch — you will see them. If you see paper-faced gypsum instead, someone re-did the wall in the 1990s and you can relax.
Thump and listen. Hollow and high-pitched means you are between studs. A dull thud means you found one. Not precise, but enough to tell you whether a planned anchor point is realistic.
Skip the electronic stud finder as your primary tool. On lath and plaster it is guessing, and it guesses with total confidence.
Why Plaster Punishes the Drill-Happy Approach
Three reasons. Plaster is brittle in compression but weak in tension, so a small vibration at the edge of a hole can propagate a crack outward along a lath line. Old walls are almost never plumb, so a frame that is square on the workbench will be out by half an inch over eight feet. And the trim — baseboard, chair rail, crown — is likely original, which is exactly the stuff buyers and appraisers notice.
The practical rule: never let the plaster carry load. Fasteners exist to reach the studs behind it. The plaster is a cosmetic surface you are trying not to disturb.
Three Mounting Systems That Respect an Old Wall
French cleat into studs. Our default. Two wood cleats — one lag-bolted to studs, one on the back of the wall module — spread the load along a horizontal line instead of concentrating it at four points. It also lets you lift the panel off for maintenance without touching a fastener again. Lag bolts should bite about an inch and a half into solid stud; predrill with a bit matched to the shank, not the threads.
A floor-anchored frame. For walls you do not own, or walls where the studs are hopeless. The greenery hangs on a steel frame that stands on adjustable feet and ties back to the baseboard with a minimal bracket. All the weight goes down. Albany renters, this is your option, and it comes apart in an afternoon.
Rail and bracket with a backer plate. Commercial green wall rails mounted to a plywood plate that spans three or four studs. The plate distributes load, the rail carries the modules. It is more visible, so design it as a feature rather than apologizing for it.
Anything under roughly 15 pounds — a moss frame, one small trailing planter — can live on a pair of toggle bolts in plaster. Above that, no exceptions.
The Moisture Conversation Nobody Wants to Have
Historic walls are vapor-open by design: plaster, wood lath, no plastic sheeting. That is usually a good thing. It turns into a problem the moment you park something permanently damp against them.
Three mitigations, in order of importance. First, an air gap — keep the wet side of the modules at least three-quarters of an inch off the wall. Moving air does more work than any membrane. Second, a drip tray with a drain line, not a saucer. A tray that actually routes water somewhere, plus a catch basin you check weekly. Third, a vapor-retardant backer panel behind the modules with sealed edges. That is a backstop, not a substitute for the gap.
Put a cheap humidity gauge in the room. Under 55 percent year-round is the target, and when it climbs, the fix is almost always airflow rather than a dehumidifier.
Design Around the Trim, Not Over It
Let the room's original lines win. A living wall that stops four inches short of the crown molding looks deliberate. One that buries it looks like an accident. Same with baseboard: leave it visible and start the structure above it. If the room has a picture rail, use it — light modules can hang from the rail and save your studs for the heavy stuff.
A Room-by-Room Checklist for Pre-1900 Albany Houses
Parlor or front room. Usually the best light and the best trim in the house. Mount on an interior wall, not an exterior one; old exterior walls run cold and damp all winter. If you find a chimney breast, do not drill into it.
Stairwell. Gorgeous and difficult. Weight and reach are the two problems. Frame from the floor, or anchor top and bottom with a mid-span support.
Kitchen. Have an electrician confirm there is no old knob-and-tube wiring where you plan to drill. Moisture-tolerant species near a sink are fine; directly over a stove is not.
Bathroom. Only with a real air gap, an exhaust fan that vents outdoors, and a species list that can take humidity.
Bedroom. The easiest room in the house. Interior wall, moderate load, no plumbing above or beside it.
What to Hand Your Contractor
Bring four things to the conversation: a photo from behind an outlet cover, a stud map from the magnet test, the finished weight of the assembled module, and a note about the air gap. Then ask what they intend to anchor into and how. If the answer involves a plastic wall anchor, get a second bid.
Old walls reward patience. The 1890s plaster will outlast the plants, the pump, and probably the rest of us — as long as we do not ask it to hold more than it was built for.